
Provisions, Pretzels, and Instructions: A Comprehensive Guide
Imagine a cool veranda evening! Enjoying crosswords, music, and aromatic homemade crackers – a delightful experience. The process involves dough preparation, baking, and flavoring, offering a simple, quick, and flavorful treat.
Production includes dough making, shaping, proofing, baking, and cooling. Consider ingredients like bread, garlic, salt, spices, and vegetable oil for a savory delight.
Accessibility is key; ensure clear labeling for all elements, like dropdowns, and utilize title attributes for buttons to aid screen readers.
Understanding the Basics of Provisions
Provisions, at their core, represent the essential supplies needed for any culinary endeavor, and particularly crucial when embarking on the rewarding journey of pretzel making. These aren’t merely ingredients; they are the building blocks of flavor, texture, and ultimately, satisfaction. Consider the idyllic scene of a post-summer day – a cool veranda, music, and the delightful crunch of homemade crackers. This simple pleasure hinges on having the right provisions readily available.
Fundamental provisions extend beyond the obvious flour and water. Think of the aromatic allure of garlic, the subtle bite of spices, and the richness of vegetable oil – all contributing to a truly memorable snack. The technological process, from dough preparation to cooling, demands a careful consideration of each component.
Essential Ingredients for Homemade Pretzels
Crafting authentic homemade pretzels begins with a carefully curated selection of essential ingredients. Beyond the foundational flour and water, the true magic lies in the supporting cast. Imagine a relaxing evening – a cool veranda, music, and the satisfying crunch of a homemade snack. This experience is directly tied to the quality of your provisions.
Key components include high-quality wheat flour, acting as the structural base. Yeast, vital for achieving the desired rise and characteristic pretzel texture, is paramount. Don’t underestimate the impact of salt, enhancing flavor and controlling yeast activity. Furthermore, a touch of sugar feeds the yeast and contributes to browning.
Types of Flour for Pretzel Making
Selecting the right flour is fundamental to achieving the perfect pretzel texture and flavor. While seemingly simple, the world of flour offers a spectrum of options, each impacting the final product. Think of a relaxing evening with homemade crackers – the quality starts with the wheat!
Bread flour, with its high protein content, is the gold standard for pretzels. This protein develops gluten, providing the chewy, substantial texture characteristic of a traditional pretzel. All-purpose flour can be used in a pinch, but the resulting pretzel will be softer and less robust.
The Role of Yeast in Pretzel Dough
Yeast is the engine driving the development of pretzel dough, responsible for both flavor and texture. It’s akin to the simple pleasure of enjoying a quick, flavorful snack – the foundation is crucial! Yeast consumes sugars in the flour, producing carbon dioxide gas, which creates the airy pockets that give pretzels their characteristic chew.

The type of yeast matters. Active dry yeast requires proofing in warm water before use, while instant yeast can be added directly to the dry ingredients. Both will work, but instant yeast offers convenience. Proper proofing ensures the yeast is alive and active, guaranteeing a successful rise.
The first rise, a period of rest, allows the yeast to work its magic, developing complex flavors and a relaxed gluten structure. Like ensuring accessibility with clear labeling, proper yeast activation is essential. This process, part of the overall production, transforms simple ingredients into something truly special – a delightful treat for a cool evening.
Pretzel Dough Preparation: Step-by-Step
Embarking on pretzel dough creation is a rewarding process, much like preparing a quick, flavorful snack on a relaxing evening. Step one: Activate your yeast (if using active dry) in warm water with a pinch of sugar. Step two: Combine flour, salt, and the yeast mixture in a bowl.
Step three: Begin mixing, gradually adding water until a shaggy dough forms. Step four: Knead the dough – a crucial step for gluten development – for 8-10 minutes until smooth and elastic. This mirrors the detailed production process of crackers, requiring careful attention.
Step five: Place the dough in a lightly oiled bowl, cover, and let it rise in a warm place for about an hour, or until doubled in size. Remember accessibility principles – clear steps lead to a successful outcome! This initial rise develops flavor and texture, setting the stage for pretzel perfection, a delightful treat to enjoy with music and a crossword.
Mixing and Kneading Techniques
Achieving the perfect pretzel texture hinges on masterful mixing and kneading. Initially, combine ingredients – flour, water, yeast, and salt – with a dough hook or by hand. The goal is a shaggy dough, a foundation for gluten development, akin to the initial stages of cracker dough preparation.
Windowpane test: Stretch a small piece of dough; if it forms a translucent “windowpane” without tearing, kneading is complete. Proper kneading mirrors the detailed production process, ensuring a quality final product. Like a relaxing evening with music and a snack, patience yields delicious results!
First Rise: Developing Flavor and Texture
The first rise is a crucial, often underestimated, step. After kneading, place the dough in a lightly oiled bowl, turning to coat. Cover and let rise in a warm place for approximately 60-90 minutes, or until doubled in size. This parallels the proofing stage in cracker production, vital for texture.
Why is this important? Yeast activity flourishes, producing carbon dioxide, which creates air pockets. These pockets contribute to the pretzel’s characteristic chewiness. Flavor development also occurs during this period, enriching the dough’s complexity. Think of it as a quiet moment before enjoying a relaxing evening.
Shaping Pretzels: Traditional Methods
The iconic pretzel shape isn’t accidental; it’s steeped in tradition! After the first rise, gently punch down the dough to release air. Divide it into equal portions – typically 8-12, depending on desired size. Roll each portion into a long rope, about 20-24 inches in length.
Variations exist, but the fundamental principle remains the same: a twisted loop. Proper shaping ensures even cooking and a visually appealing final product. Just as a well-prepared dough is essential, so is the careful execution of this step. Enjoy the process – it’s a rewarding craft!
The Boiling Process: Achieving the Perfect Crust
The seemingly counterintuitive step of boiling pretzel dough is crucial! Before baking, pretzels undergo a brief dip in a boiling liquid – traditionally a lye solution, but baking soda is a safer alternative. This gelatinizes the starches on the surface, creating that signature chewy interior and glossy, browned crust.
Post-boil: Immediately remove the pretzels and place them on a baking sheet lined with parchment paper. This prepares them for the final bake, resulting in a delightful contrast between the soft interior and the crisp exterior. Don’t skip this step – it’s what makes a pretzel a pretzel!
Lye Bath vs. Baking Soda Bath – A Comparison
Traditionally, pretzels achieve their distinctive flavor and texture through a brief immersion in a lye (sodium hydroxide) bath. However, lye is highly caustic and demands extreme caution – proper safety precautions are non-negotiable. It delivers an unparalleled depth of flavor and a remarkably dark, glossy crust.
The trade-off: Lye provides superior results but requires meticulous safety measures. Baking soda is user-friendly but yields a slightly milder flavor and less dramatic crust. Choosing between them depends on your comfort level and desired outcome. Always prioritize safety!
Safety Precautions When Using Lye
Working with lye (sodium hydroxide) demands unwavering respect and strict adherence to safety protocols. Lye is severely caustic and can cause severe burns upon contact with skin, eyes, or internal surfaces. Think of it like ensuring accessibility in web design – a crucial step to prevent harm.
Essential precautions include: Always wear chemical-resistant gloves, eye protection (goggles, not glasses), and long sleeves. Work in a well-ventilated area. Never add water to lye; always add lye to water slowly, stirring constantly, as this generates heat. Use stainless steel or heat-resistant plastic containers – avoid aluminum.
Keep a bottle of vinegar readily available to neutralize any lye spills. In case of skin contact, flush immediately with copious amounts of water for at least 30 minutes, then seek medical attention. Proper disposal of lye solution is also vital – neutralize it before discarding. Prioritize safety above all else!
Applying the Pretzel Wash
The pretzel wash is pivotal for achieving that signature dark, glossy crust. Following the boiling stage, gently remove pretzels and place them onto a baking sheet lined with parchment paper. This step, much like ensuring clear labeling in web accessibility, is crucial for a quality outcome.
The wash typically consists of an egg wash (beaten egg with a little water) or a solution of baking soda and water. For a deeper color, consider using a lye bath – but remember the stringent safety precautions! Brush the wash evenly over each pretzel, ensuring complete coverage.
Immediately after washing, sprinkle with coarse salt or your desired toppings. The moisture from the wash helps the toppings adhere. Don’t delay – the wash needs to be fresh for optimal results. This process prepares the pretzels for baking, transforming them into golden-brown perfection.
Baking Pretzels to Golden Perfection
Baking transforms the washed pretzels into golden-brown masterpieces. Preheat your oven to a consistent temperature – typically between 400°F (200°C) and 450°F (230°C). Consistent heat, like clear instructions in a guide, is essential for even cooking.
Place the prepared pretzels onto a baking sheet and bake for 12-15 minutes, rotating halfway through. Monitor closely; baking times can vary depending on your oven and the size of your pretzels. Look for a deep golden-brown color and a firm texture.
Visual cues are key to determining doneness. The pretzels should be firm to the touch and have a rich, dark color. Avoid overbaking, as this can result in dry, brittle pretzels. Just as a well-labeled button aids accessibility, proper baking yields a perfect pretzel!
Optimal Baking Temperatures and Times
Achieving pretzel perfection hinges on precise baking parameters. Generally, a temperature range of 400°F (200°C) to 450°F (230°C) yields the best results. Higher temperatures promote a rapid rise and a beautifully browned crust, much like a clear title attribute clarifies a button’s purpose.
Baking time typically falls between 12 and 15 minutes, but this is a guideline, not a rigid rule. Smaller pretzel bites will require less time, while larger, thicker pretzels may need a few extra minutes. Rotating the baking sheet halfway through ensures even browning.

Consider your oven’s quirks. Some ovens run hot, others cool. Experimentation is key! Start with 12 minutes and check frequently. A firm texture and deep golden-brown color signal readiness. Remember, consistent results, like a well-prepared recipe, are the goal.
Checking for Doneness: Visual Cues
Determining pretzel readiness relies heavily on visual inspection. A deep, rich golden-brown hue is the primary indicator of a perfectly baked pretzel, akin to a clear label guiding a user through a form. The color should be uniform across the surface, avoiding pale or burnt spots.
Texture provides another crucial clue. The pretzel should appear firm to the touch, with a slightly crisp exterior. Gently pressing on the surface shouldn’t leave a significant indentation. Think of it like confirming a button’s function with a descriptive title.
Listen closely! A hollow sound when tapped indicates a fully baked interior. If the pretzel feels soft or doughy, return it to the oven for a few more minutes. Consistent monitoring is vital, ensuring each pretzel achieves optimal doneness, just as accessibility features ensure usability for all.
Cooling and Storage of Baked Pretzels
Proper cooling is paramount for maintaining pretzel texture. Immediately transfer baked pretzels to a wire rack, allowing air to circulate freely. This prevents condensation, which can lead to a soggy crust – similar to ensuring a clear input field label for user understanding.
Allow the pretzels to cool completely before storing, typically around 30-60 minutes. Warm pretzels will create moisture within the storage container, compromising their crispness. Think of this as verifying a button’s purpose with a descriptive title attribute.
For short-term storage (1-2 days), an airtight container at room temperature is sufficient. For longer preservation, freezing is recommended. Wrap pretzels individually or in small batches to prevent sticking. Proper storage ensures lasting enjoyment, mirroring the importance of accessible design for sustained usability.
Flavor Variations: Beyond the Traditional
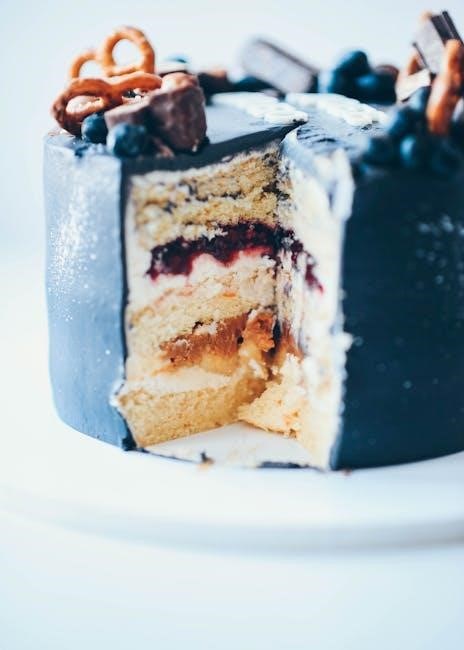
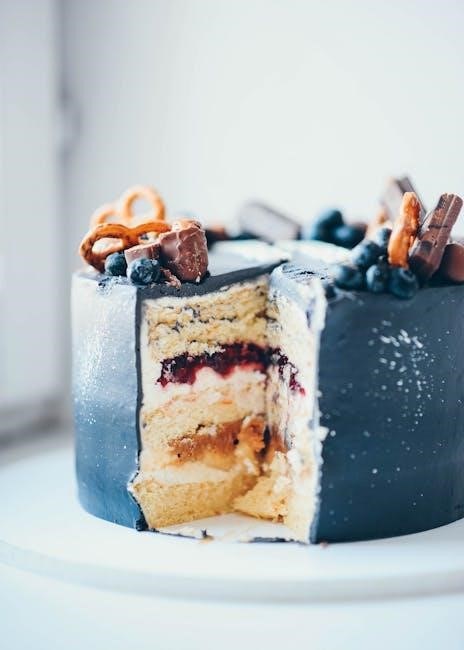
Sweet tooth calling? Cinnamon sugar is a timeless choice, but explore chocolate glazes, maple syrup drizzles, or a dusting of powdered sugar. These offer a delightful contrast to the pretzel’s saltiness. Think of these as alternative input methods, catering to diverse preferences.
For the adventurous, jalapeño and chili powder create a spicy pretzel experience. Experiment with different spice levels to find your perfect heat. Don’t be afraid to get creative! Just as accessibility features broaden usability, flavor variations broaden enjoyment.
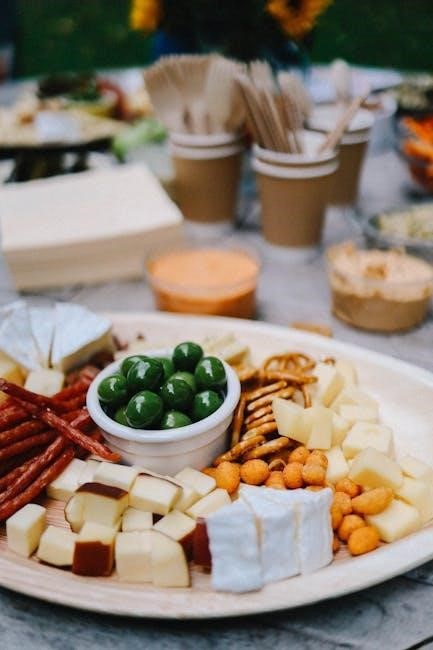
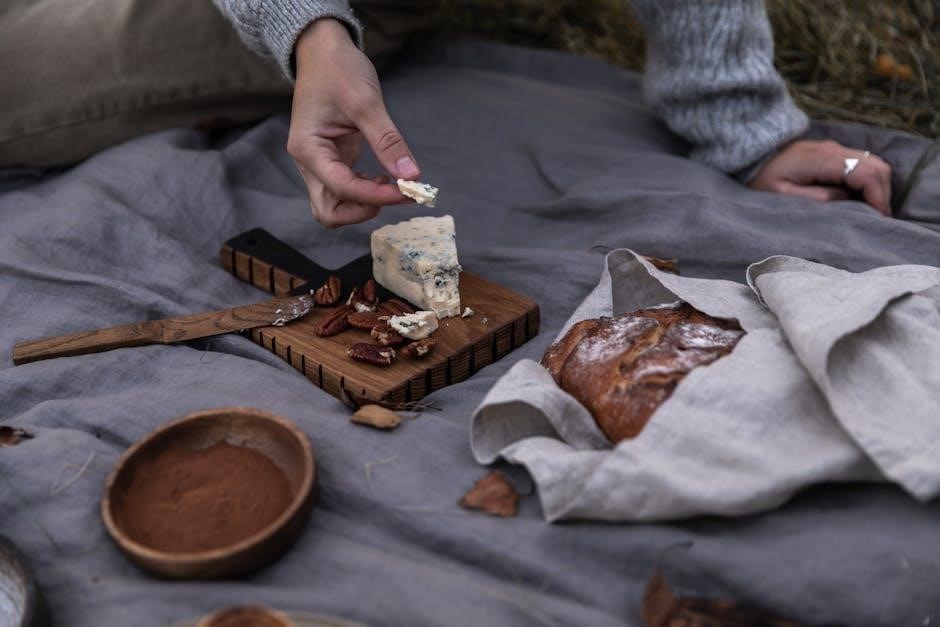
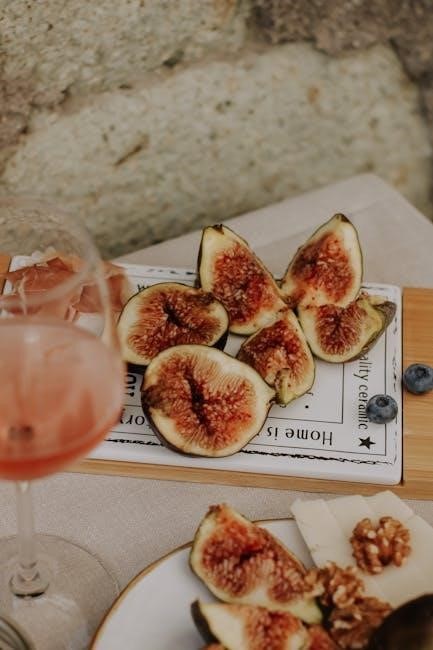
Savory Pretzel Toppings: Salt, Garlic, and Herbs
Elevate your pretzel experience with a symphony of savory flavors! Coarse sea salt remains a classic, providing that satisfying crunch and burst of saltiness. However, don’t limit yourself – explore the aromatic world of garlic. Garlic powder, generously sprinkled post-boil, infuses the pretzels with a pungent, irresistible aroma, reminiscent of a warm kitchen.
Experiment with combinations! Garlic and herb blends are particularly popular. Remember, quality ingredients are key. Just as a clear title attribute aids accessibility, quality toppings elevate the pretzel’s taste.
Sweet Pretzel Glazes: Cinnamon Sugar and Chocolate
Transform your pretzels into decadent treats with luscious sweet glazes! The quintessential choice, cinnamon sugar, offers a warm, comforting sweetness. A simple mixture of granulated sugar and cinnamon, generously brushed onto warm pretzels, creates a delightful, slightly crunchy coating. It’s a classic for a reason – its simplicity is its strength.
Explore variations! Combine cinnamon sugar with a touch of nutmeg or cardamom. Add sprinkles or chopped nuts to your chocolate glaze. Remember, quality chocolate is crucial for optimal flavor. A quick and easy treat, perfect for any occasion!
Spicy Pretzel Options: Jalapeño and Chili Powder
Elevate your pretzel game with a fiery kick! For those who crave heat, jalapeño offers a fresh, vibrant spice. Finely minced jalapeños can be incorporated directly into the pretzel dough for a subtle warmth, or sprinkled on top before baking for a more pronounced bite. Remember to handle jalapeños with care – gloves are recommended!
Chili powder provides a more robust, earthy heat. A generous coating of chili powder, combined with a touch of smoked paprika, creates a complex and satisfying flavor profile. Experiment with different chili powders – ancho, chipotle, or cayenne – to adjust the intensity to your preference.
Homemade Pretzel Recipes: A Collection
Embark on a pretzel-making journey! This collection offers a range of recipes to suit every palate and skill level. We begin with a Classic Soft Pretzel Recipe, focusing on traditional techniques for that authentic chewy texture and golden-brown crust. It’s a perfect starting point for beginners.
Next, explore Sweet Pretzel Bites – small, irresistible morsels glazed with cinnamon sugar or dipped in rich chocolate. These are ideal for parties or a sweet treat with afternoon tea. They’re quick to prepare and incredibly addictive!
Remember, the key to success lies in quality ingredients and careful attention to detail. Enjoy the process and savor the delicious results!
Classic Soft Pretzel Recipe
Yields: 8 pretzels. Prep time: 30 minutes + 1 hour proofing. Cook time: 15-20 minutes.
Ingredients: 4 cups bread flour, 2 tsp sugar, 2 tsp salt, 1 packet (2 ¼ tsp) active dry yeast, 1 ¼ cups warm water, 2 tbsp melted butter. For the bath: ½ cup baking soda, 8 cups water. For topping: Coarse pretzel salt.
Instructions: Dissolve yeast and sugar in warm water. Combine flour and salt; add wet ingredients and butter. Knead until smooth and elastic. Let rise for 1 hour. Roll into ropes, form pretzels. Boil in baking soda solution (30 seconds per pretzel). Sprinkle with salt and bake at 450°F (232°C) for 15-20 minutes, until golden brown.
Sweet Pretzel Bites Recipe
Yields: Approximately 60 bites. Prep time: 20 minutes + 45 minutes proofing. Cook time: 10-12 minutes.
Ingredients: 3 cups bread flour, 1 tsp salt, 1 packet active dry yeast, 1 cup warm milk, 2 tbsp sugar, 2 tbsp melted butter; For the bath: ½ cup baking soda, 6 cups water. For the glaze: ¼ cup melted butter, 2 tbsp sugar, ½ tsp cinnamon.
Instructions: Combine yeast, sugar, and milk. Add flour, salt, and butter; knead until smooth. Let rise. Roll into small ropes, cut into 1-inch bites. Boil in baking soda solution (20 seconds). Toss with cinnamon-sugar glaze and bake at 375°F (190°C) for 10-12 minutes.
Flavor Boost: Add a drizzle of melted chocolate after baking! These bites, like well-structured code, are small but impactful. A delightful treat reminiscent of a cool veranda evening, perfect with music and a relaxing atmosphere.
Savory Pretzel Sticks Recipe
Yields: Around 40 sticks. Prep time: 25 minutes + 60 minutes proofing. Cook time: 12-15 minutes.
Ingredients: 3 ½ cups bread flour, 1 tbsp salt, 1 packet active dry yeast, 1 ¼ cups warm water, 1 tbsp sugar, 2 tbsp melted butter. For the bath: ½ cup baking soda, 6 cups water. For topping: Coarse salt, garlic powder, dried herbs (rosemary, thyme).
Instructions: Dissolve yeast and sugar in warm water. Combine with flour, salt, and butter; knead until elastic. Let rise. Roll into long ropes, then cut into 6-inch sticks. Boil in baking soda solution (30 seconds). Brush with water, sprinkle with salt, garlic, and herbs. Bake at 400°F (200°C) for 12-15 minutes.