ICONSIGN Lash Tint Instructions: A Comprehensive Guide
Discover the secrets to beautifully tinted lashes with ICONSIGN! This guide provides a detailed walkthrough, ensuring a safe and effective application for lasting results.
Expect up to eight weeks of noticeable color enhancement, with the entire process taking between ten and twenty minutes to complete, depending on desired intensity.
Understanding ICONSIGN Lash Tint
ICONSIGN Lash Tint represents a revolutionary approach to enhancing your natural lashes, offering a semi-permanent dye solution designed to darken and define. Unlike mascara, which provides temporary color, ICONSIGN delivers results that last for weeks, minimizing the daily need for makeup application. This treatment is incredibly popular, evidenced by over 30 million lash lift kits sold, with a remarkable 95% positive review rate across the EU, USA, and Australia.
The core benefit lies in its ability to create the illusion of fuller, darker lashes, instantly opening up the eyes and boosting confidence. ICONSIGN caters to all lash types – short, long, or anywhere in between – ensuring a universally flattering outcome. The simplicity of the three-step process, coupled with easy-to-follow instructions, makes it accessible for at-home use, though professional application is always recommended for optimal results. The treatment’s duration typically falls between 10-20 minutes, adjustable based on the desired intensity of color. It’s a fantastic alternative for those seeking a low-maintenance, long-lasting lash enhancement.
What is ICONSIGN Lash Tint?
ICONSIGN Lash Tint is a cosmetic procedure utilizing a specialized dye to safely and effectively color eyelashes, creating a darker, fuller appearance. It’s not a lash lift, but a coloring process, similar to a hair dye, specifically formulated for the delicate eye area. The product boasts a strong market presence, with over 30 million lash lift kits sold, and consistently receives positive feedback – 95% of reviews highlight its quality and affordability in regions like the EU, USA, and Australia.
The tinting process involves applying a gentle dye to the lashes, which stains each individual hair for several weeks. This eliminates the need for daily mascara, saving time and reducing potential irritation. ICONSIGN’s formula is designed to work on all lash lengths and thicknesses, providing a customizable result. The treatment itself is relatively quick, typically taking between 10 and 20 minutes, depending on the desired intensity. It’s a semi-permanent solution, offering a noticeable enhancement without the commitment of extensions, and is a popular choice for those seeking a natural-looking boost to their lashes.
Benefits of ICONSIGN Lash Tint
ICONSIGN Lash Tint offers a multitude of advantages for those seeking enhanced lash definition. Primarily, it provides a long-lasting alternative to daily mascara application, with results visible for up to eight weeks, minimizing makeup routines and saving valuable time. This is particularly appealing for individuals with active lifestyles or those who prefer a natural look.
Beyond convenience, the tint darkens and thickens the appearance of lashes, creating a more open and youthful eye appearance. The treatment is suitable for all lash types – short, long, or varying thicknesses – ensuring a universally flattering outcome. ICONSIGN’s kits are renowned for their ease of use, featuring a simple three-step process that can be comfortably performed at home.
Furthermore, the tint is compatible with mascara; post-treatment application is perfectly safe and can further amplify the enhanced lash look. With over 30 million kits sold and a 95% positive review rate, ICONSIGN delivers a quality, affordable, and convenient solution for beautifully defined lashes, boosting confidence and simplifying beauty routines.
Preparation for ICONSIGN Lash Tinting
Prioritize safety and optimal results! Begin with a crucial patch test, gather all necessary supplies, and meticulously prepare your treatment area for a flawless ICONSIGN experience.
Patch Test: Ensuring Safety
Before embarking on your ICONSIGN Lash Tint journey, a patch test is absolutely paramount. This crucial step safeguards against potential allergic reactions or sensitivities to the tinting formula. It’s a non-negotiable aspect of responsible application, ensuring a positive experience.
To perform the patch test, apply a small amount of the tint to a discreet area of skin – ideally behind the ear or on the inner elbow. Allow the tint to remain on the skin for the recommended processing time, mirroring the duration you intend to use during the lash tinting procedure itself.
Carefully monitor the area for any adverse reactions over the next 24-48 hours. Look for signs of redness, itching, burning, swelling, or any other irritation. If any of these symptoms manifest, do not proceed with the lash tinting treatment. Discontinue use immediately and consult a healthcare professional if necessary.
A negative reaction – meaning no irritation occurs – indicates that you can likely proceed with the ICONSIGN Lash Tinting with a reduced risk of adverse effects. However, even with a successful patch test, always remain vigilant and discontinue use if any discomfort arises during the actual application process.
Gathering Your Supplies
Successful ICONSIGN Lash Tinting hinges on having all necessary supplies readily available before you begin. A well-prepared workspace streamlines the process and minimizes potential mishaps. Let’s compile your essential toolkit for a flawless application.

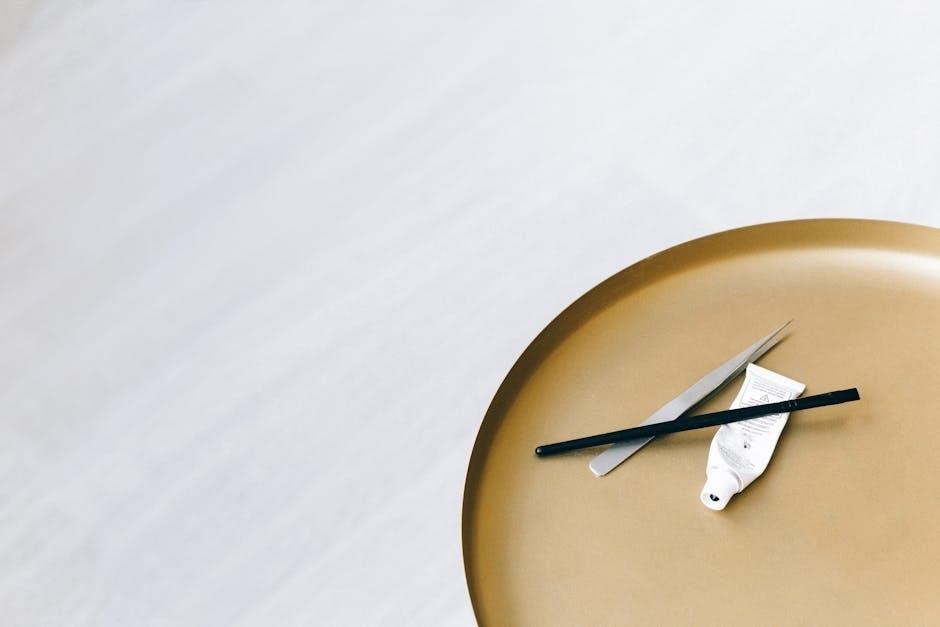
You will require the ICONSIGN Lash Tint kit itself, ensuring it includes the tinting cream, developer (or activating lotion), and a mixing applicator. Crucially, gather protective under-eye shields – these prevent staining of the skin during application. A cleanser solution (like cleanser solution (4) mentioned in ICONSIGN service steps) is vital for prepping the lashes.
Additional necessities include disposable applicators (micro brushes or wands), a mixing bowl (non-metallic), gloves to protect your hands, a timer for accurate processing, and cotton pads or swabs for cleanup. A mirror is, of course, essential for visibility.
Finally, have a comfortable chair and good lighting to ensure precision. Having everything organized and within reach will contribute to a smoother, more professional-looking result. Remember, preparation is key to achieving beautifully tinted lashes with ICONSIGN!
Preparing the Treatment Area
Creating a hygienic and comfortable treatment environment is paramount for a safe and effective ICONSIGN Lash Tinting experience. Prioritize cleanliness and client comfort to ensure optimal results and prevent any adverse reactions. A dedicated, well-lit space is ideal.
Begin by thoroughly cleaning and disinfecting the area where you’ll be working. Cover your work surface with disposable protective coverings, such as paper towels or plastic sheeting. Ensure adequate ventilation in the room. Comfortable seating for the client is essential – a reclining chair is preferable for optimal access to the lashes.
Lay out all gathered supplies in an organized manner, keeping everything within easy reach. Have a small waste receptacle nearby for disposing of used applicators and cotton pads. Good lighting is crucial for precision; a focused task light is highly recommended.
Finally, ensure the client is comfortably positioned and informed about the procedure. A relaxing atmosphere will contribute to a more positive experience. Remember, a meticulously prepared area sets the stage for a successful ICONSIGN Lash Tint application!
Step-by-Step ICONSIGN Lash Tint Instructions
Follow these simple steps for a flawless ICONSIGN Lash Tint! Begin with cleansing, then apply shields, carefully apply the tint, monitor processing, and finally, remove the tint gently for beautiful results.

Step 1: Cleansing the Lashes
The foundation of a successful ICONSIGN Lash Tint lies in impeccably clean lashes. This crucial first step ensures optimal tint adhesion and prevents unwanted color transfer to the skin. Before you even think about applying the tint, dedicate time to thoroughly remove any makeup residue, oils, or cosmetic products from both the upper and lower lashes.
Utilize the cleanser solution (number 4) specifically provided within the ICONSIGN kit. Gently apply it to the lash line using a micro-brush or a cotton swab, working in a delicate, sweeping motion. Pay close attention to the base of the lashes, where buildup often accumulates. Ensure every single lash is free from any impurities.
Avoid harsh rubbing or excessive pressure, as this can irritate the delicate eye area. After applying the cleanser, carefully wipe away any remaining solution with a clean, dry lint-free pad. Repeat the cleansing process if necessary, until the lashes are completely clean and free of any visible residue. A pristine canvas is essential for achieving a vibrant, long-lasting tint!
Step 2: Applying Protective Under-Eye Shields
Protecting the delicate skin under the eyes is paramount during the ICONSIGN Lash Tinting process. The tinting solution is designed for lashes, and accidental contact with the skin can cause unwanted staining. This step utilizes specialized under-eye shields, acting as a barrier to prevent any mishaps and ensure a clean, professional result.
Carefully apply the shields directly beneath the lower lash line, ensuring they adhere firmly to the skin. The shields should completely cover the under-eye area, creating a secure boundary. Take your time and ensure there are no gaps where the tint could potentially seep through. Smooth out any wrinkles or creases in the shield to create a flush surface.
Proper application is key – the shields must be snug but comfortable. Avoid stretching the skin too tightly, as this can cause discomfort for the client. Double-check the placement on both eyes, guaranteeing complete coverage. These shields aren’t just about preventing stains; they also provide a comfortable experience for the individual receiving the treatment, safeguarding their skin throughout the process.
Step 3: Applying the Tint
With the under-eye shields securely in place, it’s time to apply the ICONSIGN Lash Tint. This step requires precision and a steady hand to ensure even coverage and optimal results. Begin by gently combing the upper lashes upwards, ensuring they are neatly separated and free from any clumps or residue from the cleansing stage.
Using the provided applicator brush, carefully apply the tint to the lashes, starting from the base and working your way to the tips. Avoid applying the tint directly to the skin; focus solely on coating the lashes thoroughly. A thin, even layer is preferable to a thick, uneven application. Repeat the process several times, ensuring every lash is fully saturated with the tinting solution.
For the lower lashes, gently pull the skin taut and apply the tint in the same manner – from base to tip, avoiding contact with the skin. Be extra cautious during this step, as the lower lashes are often shorter and more delicate. Remember, a consistent and even application is crucial for achieving a uniform, natural-looking tint.
Step 4: Processing Time & Monitoring
Once the ICONSIGN Lash Tint is applied, the processing time begins. This crucial phase determines the intensity of the color achieved. Typically, the tint is left on for 10-20 minutes, but this duration can be adjusted based on the desired darkness and the individual’s lash characteristics; It’s vital to adhere to the manufacturer’s recommended processing times to avoid over-processing or under-processing.
During the processing time, closely monitor the client’s reaction. Check for any signs of irritation, redness, or discomfort around the eyes; If any adverse reaction occurs, immediately remove the tint with a copious amount of water. Regular checks are paramount for ensuring client safety and a positive experience.
Avoid unnecessary movement or disturbance during processing. The tint needs undisturbed time to effectively penetrate the lash fibers. A timer is highly recommended to accurately track the elapsed time. Remember, the treatment typically spans 10-20 minutes, contingent on the desired color intensity and individual lash properties.
Step 5: Removing the Tint
After the designated processing time, carefully remove the ICONSIGN Lash Tint. Begin by gently wiping away the tint with a dry cotton swab or a clean, damp cloth. Avoid applying excessive pressure, as this could cause irritation. Work systematically from the base of the lashes towards the tips, ensuring all traces of the tint are removed.
Once the majority of the tint is removed, use a sterile saline solution or cool water to thoroughly rinse the lash area. This step is crucial for eliminating any remaining residue and preventing potential irritation. Ensure no tint remains along the lash line or on the surrounding skin.
Follow up with a final check to confirm complete removal. A clean, dry cotton swab can be used to meticulously inspect the lash line. Proper removal is essential for achieving optimal results and maintaining client comfort. The entire process, from application to removal, should be performed with precision and care.

Post-Tint Care & Maintenance
Maximize your ICONSIGN Lash Tint results with proper aftercare! Avoid oil-based products for 24 hours, and mascara is perfectly fine to use post-treatment for added volume.
Aftercare Instructions: Dos and Don’ts
Following your ICONSIGN Lash Tint treatment, diligent aftercare is crucial for maximizing longevity and maintaining optimal results. For the initial 24-48 hours, avoid getting your newly tinted lashes wet. This includes showering, swimming, saunas, and even excessive tearing; Water can hinder the dye from fully setting, potentially leading to fading or uneven color.
Steer clear of oil-based makeup removers, cleansers, and skincare products around the eye area. Oil can break down the tint, shortening its lifespan. Opt for oil-free alternatives instead. Similarly, avoid using eyelash serums or conditioners immediately after tinting, as they may interfere with the dye’s development.
Gentle handling is key. Refrain from rubbing or vigorously washing your eyes. When removing makeup, use a soft, lint-free cloth and a gentle, oil-free makeup remover. Pat the area dry rather than rubbing.
Do feel free to apply mascara after the initial 24 hours! Mascara can beautifully enhance your already tinted lashes, adding extra volume and definition. However, always remove mascara gently with an oil-free remover.
Sun exposure can also contribute to fading, so consider wearing sunglasses when outdoors for extended periods. By adhering to these simple dos and don’ts, you’ll ensure your ICONSIGN Lash Tint stays vibrant and beautiful for weeks to come!
How Long Do Results Last?
The duration of your ICONSIGN Lash Tint results is a common question, and the good news is you can anticipate enjoying beautifully darkened lashes for a significant period! Typically, the tint will last between six to eight weeks, providing a noticeable difference without the daily need for mascara.
However, it’s important to understand that individual results can vary. Several factors influence longevity, including your natural lash growth cycle, exposure to sunlight, and the frequency of oil-based product use around the eyes. Those who frequently swim or use oil-based makeup removers may find the tint fades slightly faster.

As your natural lashes grow and shed, the tinted portion will gradually disappear. You’ll notice the roots becoming lighter as new, un-tinted lashes emerge. This is perfectly normal and indicates it’s time for a touch-up to maintain a consistently dark and defined look;
To maximize the lifespan of your tint, diligently follow the aftercare instructions provided. Avoiding oil-based products and protecting your lashes from excessive sun exposure will help preserve the color for as long as possible. Regular maintenance appointments, approximately every six to eight weeks, will keep your lashes looking consistently stunning!
Can I Wear Mascara After Tinting?
A frequently asked question following an ICONSIGN Lash Tint treatment is whether you can still enjoy your favorite mascara. The answer is a resounding yes! Absolutely, you can wear mascara after getting your lashes tinted – in fact, it can beautifully enhance the already darkened and defined look achieved with the tint.
The tint provides a base of color, creating the appearance of fuller, darker lashes. Mascara then adds volume, length, and further definition, taking your lash look to the next level. However, it’s recommended to choose a mascara formula carefully.
Opt for water-based mascaras rather than oil-based ones. Oil-based formulas can potentially break down the tint more quickly, shortening the duration of your results. A gentle, non-oil-based mascara will allow you to enjoy both the benefits of the tint and the added drama of mascara without compromising the longevity of the tint.
Remember to always remove your mascara gently at the end of the day, using a water-based makeup remover. Avoid harsh rubbing or pulling, which could potentially irritate your newly tinted lashes. Enjoy experimenting with different mascara styles to create your perfect lash look!